

Landscape Lighting Placement Guide for a Beautiful Yard
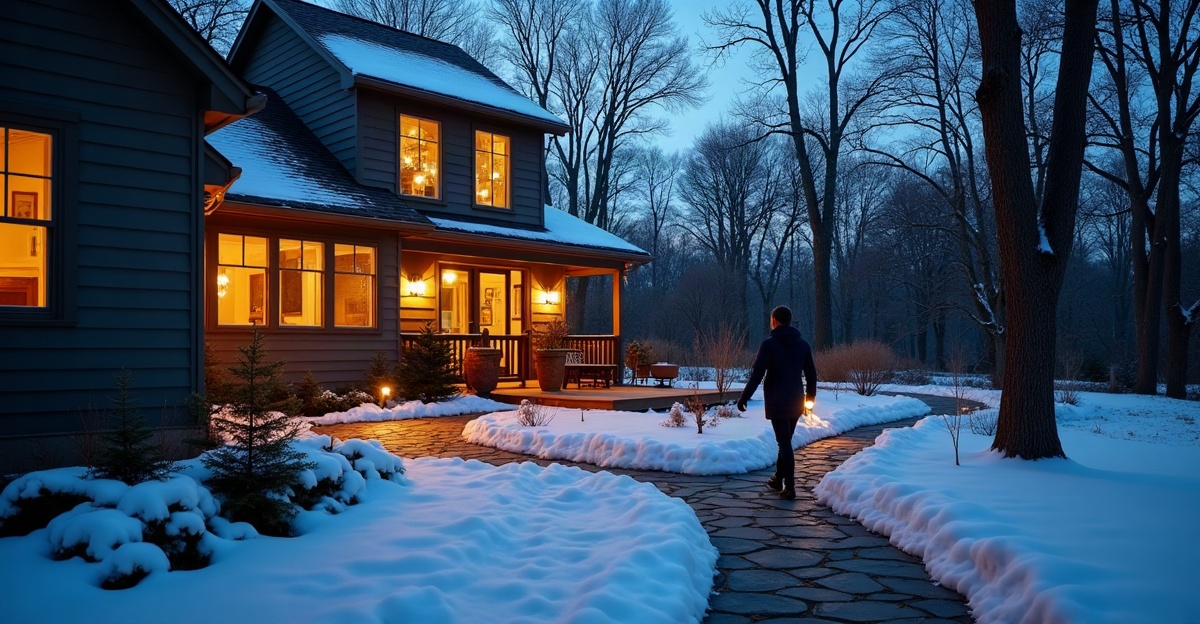
We start a landscape lighting plan with the routes, entries, steps, and outdoor areas we use after dark. Next, we add focused lighting for trees, architecture, and focal features. Smart placement supports safety, limits glare, accounts for seasonal conditions, and creates a dependable system that keeps the yard comfortable and useful year-round.
Key Takeaways
- We walk the property after dark to spot tripping hazards, frequent routes, key views, snow-storage areas, and features that deserve attention.
- We prioritize entries, walkways, driveway edges, steps, grade changes, patios, decks, gates, and outdoor work areas before adding decorative lighting.
- We match each lighting method to its purpose: path lights guide routes, downlights support gathering areas, uplights highlight focal points, and task lights improve visibility where it matters.
- We reduce glare with accurate aiming, shielding, beam spread, and fixture placement. Then, we review the lighting from the yard and from inside the home.
- We plan for Minnesota weather, plant growth, snow removal, wiring access, transformer capacity, and future expansion to support lasting performance.
Start With Safety: Map How Your Property Is Used After Dark
Proper placement of landscape lighting starts with safety-critical areas before decorative features. A striking tree or stone wall can wait until we can move safely from the driveway to the front door, patio, gate, or garage.
For this landscape lighting placement guide, we recommend walking the property after dark before selecting fixtures or deciding where they belong. Note dark spots, tripping hazards, key views from inside the home, outdoor activities, snow-removal routes, and focal features worth highlighting. What looks clear in daylight can become difficult to see at night, especially around steps, changing grades, and path intersections.
Use a practical planning sequence. First, identify how the property is used after dark. Next, map safety-critical areas. Then identify focal points and outdoor living zones, match lighting techniques to each area, and plan transformer location, wire routes, zones, and room for future expansion. Once installed, test the full design after dark and adjust aiming, output, and placement.
Priority areas usually include front and side entries, steps and stoops, retaining-wall transitions, walkways, driveway edges, garage approaches, patios, decks, outdoor kitchens, seating areas, and often-used gates. We also account for the routes used during winter, including where snow gets pushed or stored.
Controlled, even lighting is generally more useful than excessive brightness. More fixtures do not automatically make a property safer or more appealing. The best placement of landscape lighting creates clear routes, comfortable gathering areas, and a calm view across the yard without harsh glare or scattered bright spots.
Where to Place Landscape Lighting Around Your Yard
Walkways and front paths need enough light to define the route and show path edges. Path lighting should guide movement without turning the landscape into a runway. Fixture output, beam spread, mounting height, path width, surrounding darkness, planting density, surface color, and nearby features all affect the right spacing. There is no fixed measurement that works for every property, so we test placement on-site after dark.
Driveways and garage approaches benefit from careful lighting at edges and transitions where paving changes to walkways, planting beds, or lawn. Fixtures must stay outside plow paths and likely snow-storage areas. A well-lit driveway should help both drivers and pedestrians recognize edges without shining into the street or garage windows.
Frequently used front doors and side doors need usable, welcoming illumination. Good entry lighting lets us see locks, steps, visitors, and package areas while avoiding glare directed into windows or faces.
Patios, decks, outdoor kitchens, fire features, and seating areas need a layered approach. We light circulation routes first, then add task lighting where food is prepared, grills are used, or gates and work areas need clear visibility. Thoughtful lighting can make outdoor living design feel complete and usable well into the evening.
Steps, retaining walls, and grade changes deserve close attention. Step lights can show stair treads, wall caps, and level changes without overpowering the surrounding space. Lighting should be part of the early plan for hardscape construction, especially around paver patios, seat walls, stairways, and drainage-sensitive transitions.
Mature trees and specimen plantings work best with selective uplighting. We focus on a few meaningful vertical focal points rather than applying the same treatment to every tree and garden bed. Gardens and water features can also benefit from restrained feature lighting, provided fixtures remain accessible as plantings fill in. A carefully placed light can add depth near landscape water features without creating distracting reflections.
Architectural details, stone, brick, textured walls, and fences may call for wash lighting or grazing. Gates and property transitions should receive practical light where people pass through, while keeping spill light off neighboring properties.
Match the Lighting Method to the Area You Want to Use or Highlight
Different lighting methods serve different purposes. Matching the method to the area produces a cleaner, more useful result than copying a fixture layout from another yard.
Path lighting defines walking routes and path edges. It should make the route easy to follow without creating a continuous line of visible bright fixtures.
Downlighting is mounted in trees or structures and casts light downward onto paths, patios, and gathering areas. Done well, it creates a natural effect similar to soft moonlight.
Uplighting directs light upward to emphasize mature trees, home features, and other vertical focal points. We aim these fixtures carefully so they do not shine into windows or toward the street.
Wash lighting provides broad, even illumination across walls, planting beds, or textured features. It works well where a smooth, quiet layer of light is more appropriate than a strong spotlight.
Grazing places a fixture close to a wall or surface at a narrow angle. This approach brings out the texture of stone, brick, retaining walls, and architectural finishes.
Step lighting improves visibility on stair treads, wall caps, and changes in elevation. Task lighting supports practical activities around outdoor kitchens, grills, gates, and work areas.
Layered lighting gives every area a clear purpose. We begin with circulation and safety, add task lighting where activities require it, and finish with selective accent lighting for trees, architecture, and focal features. For example, a patio may need low-level route lighting, useful illumination near a grill, and a few restrained accents around a landscape fire feature or mature tree.
Control Glare and Check the View From Inside Your Home
Glare control is one of the most important parts of proper placement of landscape lighting. A fixture can be bright enough to light a feature while still being aimed poorly. Light should not shine directly into bedroom or living-room windows, toward drivers, into seating areas, or onto nearby properties.
Shielding, aiming, beam spread, and fixture location matter more than simply increasing brightness. We use shields where needed, select the correct beam angle, and position fixtures so the illuminated surface remains the focus instead of the bulb itself. Uplights need particular care because an exposed source can create uncomfortable glare from the street or from inside the home.
After dark, stand in the primary rooms and look out through the windows. Check for reflected light on the glass, visible bright bulbs, harsh hotspots, and features that look flat or overlit. A tree may look excellent from the patio but create glare from a bedroom. A wall may be beautifully grazed from the driveway yet appear too intense from the living room.
Subtle, controlled lighting usually creates better curb appeal and better nighttime use than a bright, uneven collection of fixtures. We always inspect the design after dark and adjust aiming, output, and placement until the lighting feels natural from the key viewpoints.
Plan for Minnesota Weather, Maintenance, and Long-Term Reliability
In Shakopee and communities across Scott, Carver, Dakota, and Hennepin counties, landscape lighting must hold up through snow, frozen ground, spring moisture, freeze-thaw cycles, and seasonal plant growth. A plan that looks right in July may need adjustments once snowbanks rise or foliage fills in.
Keep fixtures accessible for cleaning, aiming, and seasonal service. Low path lights should stay clear of snow-storage zones, driveway plow paths, shoveling routes, lawn equipment, edging lines, and heavy foot traffic. We also account for plants that may grow tall enough to block a beam or push a fixture out of position.
Cable routes deserve the same attention as fixture placement. Run wire away from likely digging, future planting, drainage work, edging, and hardscape repairs whenever possible. Planning ahead protects the system and makes later landscape changes easier.
A dependable low-voltage system requires correct transformer sizing, manageable wire runs, attention to voltage drop, weatherproof connections, and reliable controls. Zones make daily use simpler. Front-entry lighting can operate separately from backyard entertaining areas or decorative feature lighting, allowing each area to run when it makes sense.
Line-voltage work and complex low-voltage system design should be handled by appropriately qualified professionals. Electrical-code compliance, safe connections, and correct system planning affect both performance and long-term reliability. Professional landscape lighting planning helps avoid hidden wiring issues and uneven results that often show up after the first season.
Common Landscape Lighting Placement Mistakes to Avoid
Several common mistakes can make a lighting system feel cluttered, difficult to maintain, or less safe than intended. The placement of landscape lighting should be intentional from the first fixture to the final nighttime adjustment.
Common issues include:
- Installing too many fixtures or placing them too close together.
- Creating a runway effect along paths.
- Aiming uplights into windows or toward the street.
- Ignoring steps, grade changes, transitions, and common circulation routes.
- Lighting every tree or planting bed equally instead of selecting meaningful focal points.
- Placing fixtures where mowing, shoveling, snowplows, or foot traffic can damage them.
- Forgetting how plant growth, snow cover, and seasonal sightlines will change the design.
- Failing to inspect the system after dark from both the yard and inside the home.
- Treating wiring, transformer capacity, controls, and future expansion as afterthoughts.
A well-planned system should feel useful first and decorative second. If we are planning a patio, retaining wall, entry upgrade, or full outdoor living space in the Shakopee area, Outdoor Oasis can help include landscape lighting in a durable, cohesive plan that fits the property and how we use it.